Monday 30 June 2014

Ready. Steady. WIGGLE!

The Wiggles. Surely everyone by now has heard of them!

Basically, there's the red wiggle, the blue wiggle, the purple wiggle, the yellow wiggle, the fifth & first wiggle, the fill-in yellow wiggle <breath> the original red wiggle, the original purple wiggle, and the chick with the bow.

Not as simple to follow as their songs, that's for sure!

Though they've been reformed for however many months now, I still have in mind the "original" Wiggle members whenever I think about them... So when I was asked to make a Wiggles themed cake recently, and if there could be a bow on top of the cake, I was like "a bow? why a bow?"

I eventually remembered that there's now a new generation of this popular group of children's entertainers. I gather the chick ("Emma" as she's also known) is a favourite among many little girls.

To decorate this Wiggles themed cake, I first put a base coat of buttercream icing around the cake, and measured up the picture in the middle. It was one of the happiest days of mine when my local cake shop told me that they print edible images! When I took Jonathan, my 4 year old, with me when we were getting the picture printed for this cake, he asked when I was going to make "magic food" for him! I suppose that's what it is when you think about it, right?


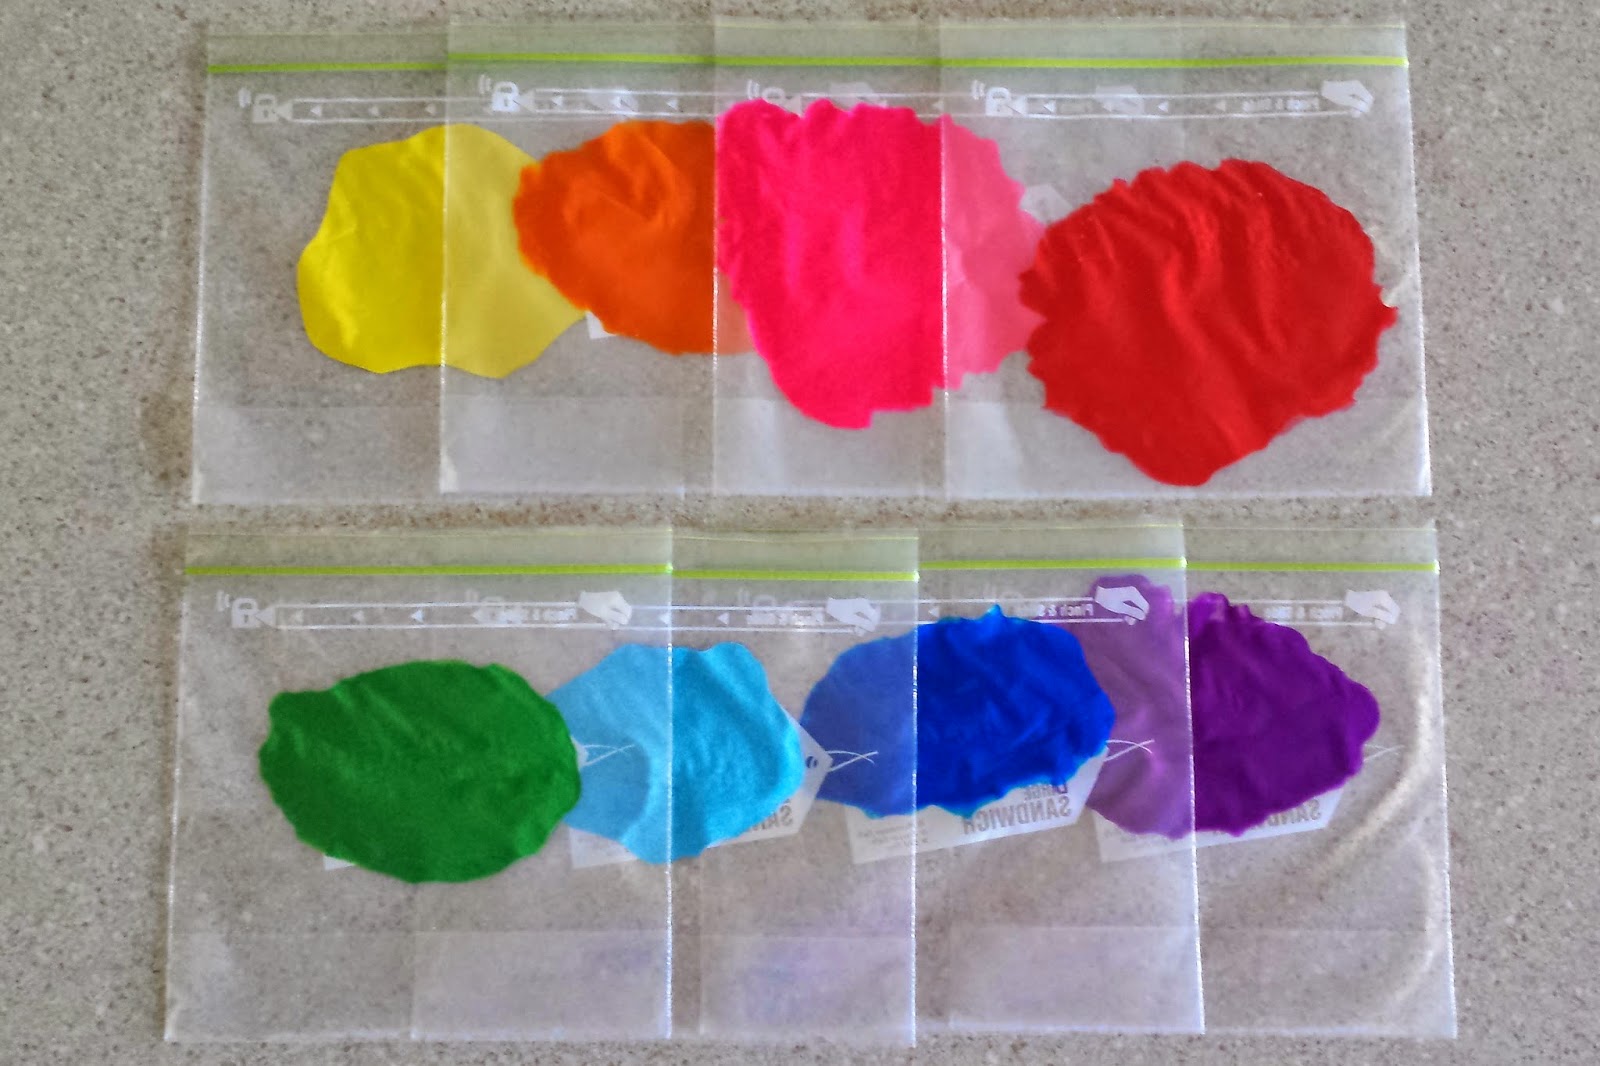
Quarter by quarter, I iced the cake with the various Wiggles colours (matching the design of the Big Red Car's wheels). Wondering how I was going to get the edges straight, I found it helpful to pipe the outline, and then fill it all in. It was as straight as it was going to get.


By this stage, I was confident at least that I'd be able to make an Omnitrix cake one day!


Once it was all iced with Wiggles colours, I unstuck the Wiggles photo and placed it in the middle of the cake. Now it was complete! That was until...


Until I remembered that the birthday girl (who was turning 2), had been dreaming day and night of a Wiggles cake, with a bow on it! Craaaaap. I quickly looked up what Emma's bow looked like, and made my own fondant interpretation of it. I sat it in a bowl for an hour (because that's all the time I had left) to try and allow the ends to stand up a bit... Obviously more time would have been better (like, if I'd remembered to make it the night before!), but it did the job!

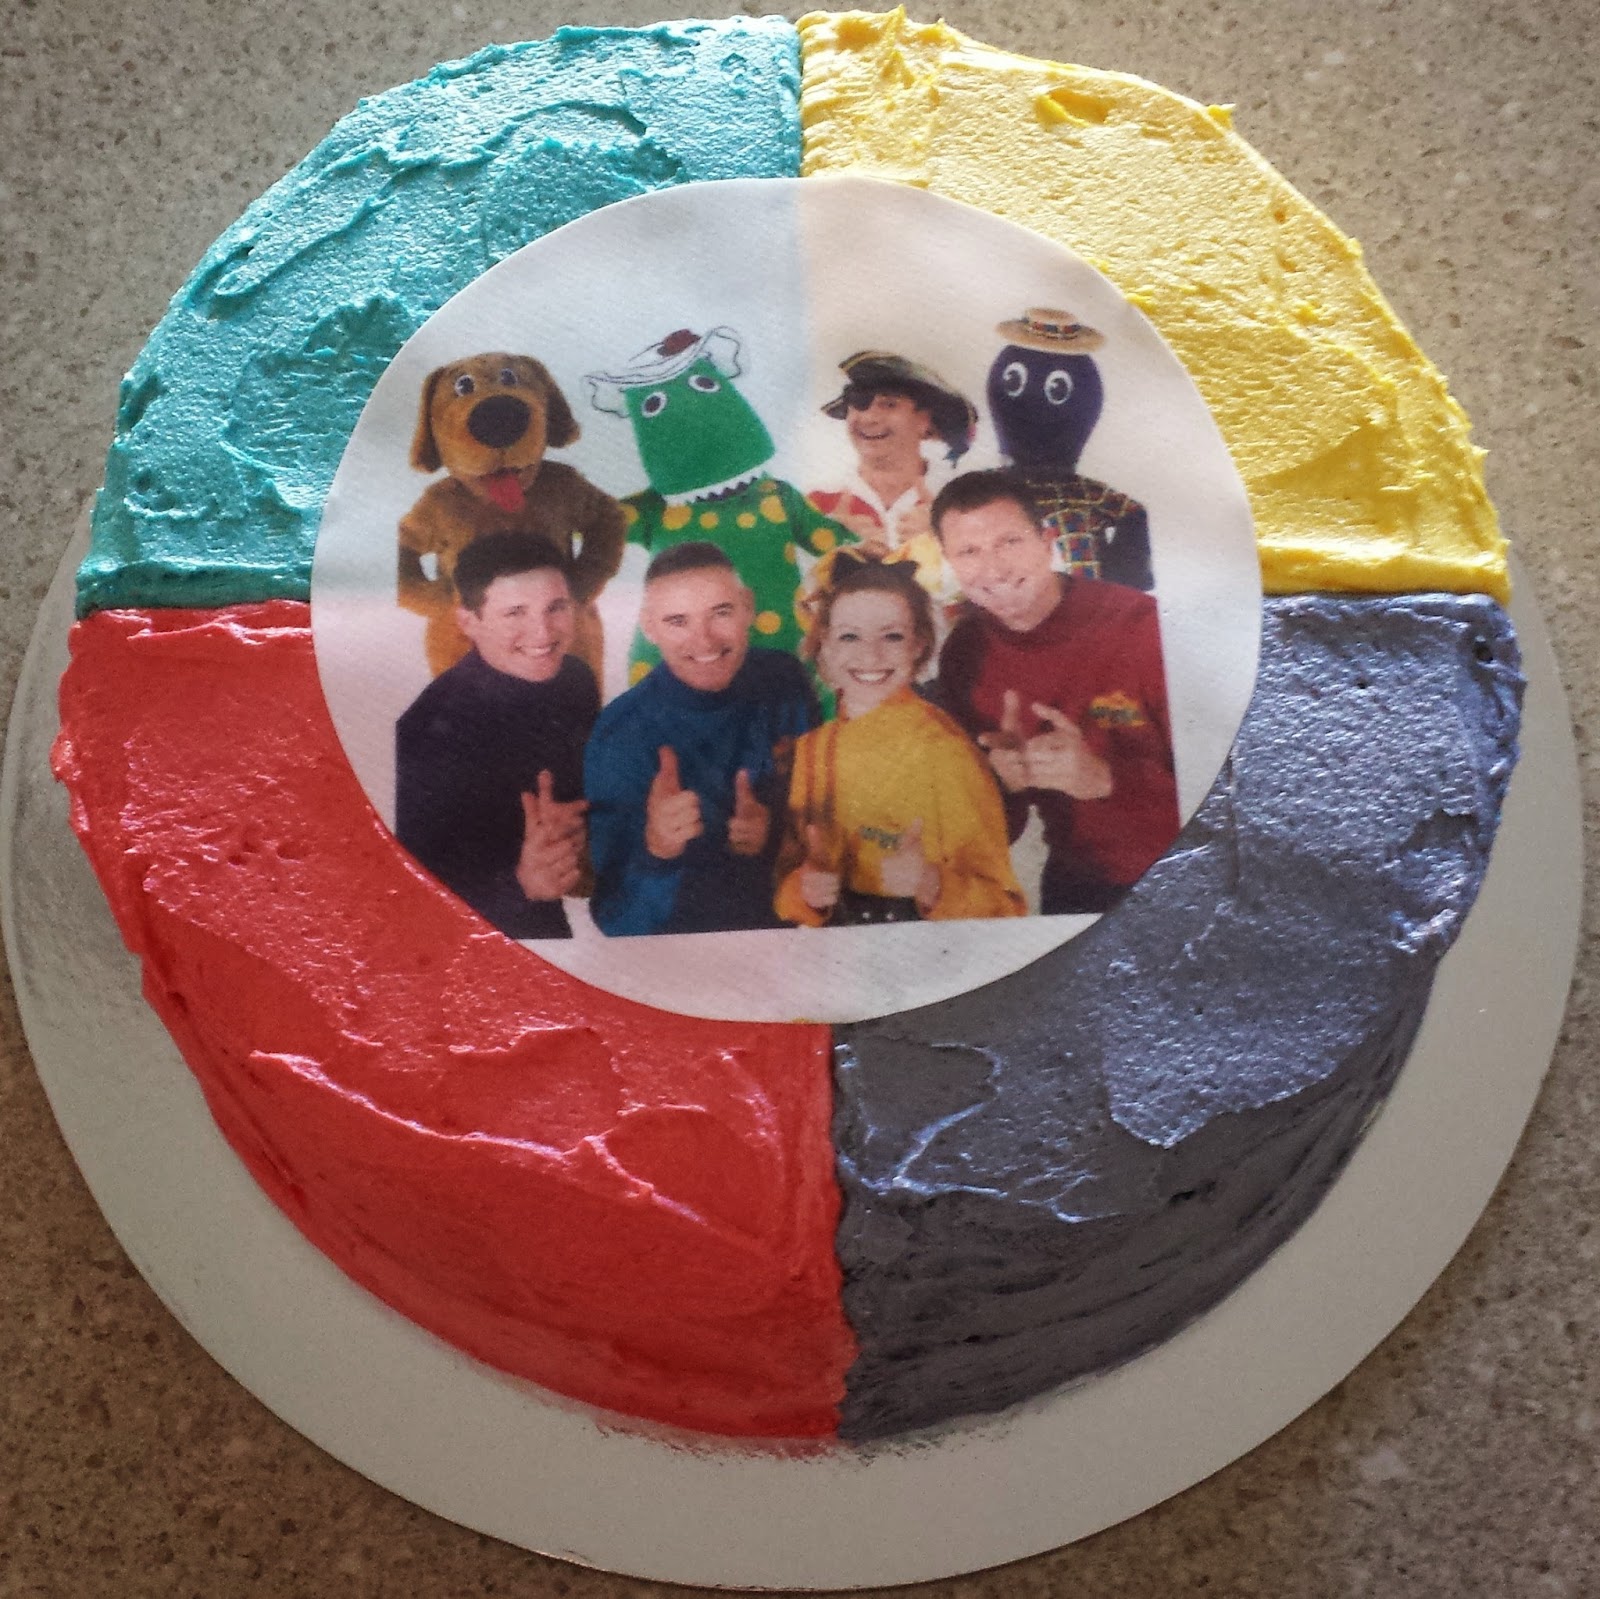
I stuck that onto the yellow section of the cake, and now it was finished:


And the birthday girl loved it!

Happy birthday Ku! :)

Friday 20 June 2014

A Friday farewell...

Farewells can be both sad, and delightful. Sad, because it means someone is leaving a particular group, team, or community; and delightful, because there's often cake involved (and if it wasn't obvious yet, cake is what I do!).
Well, tonight is the last official youth group for one of our church's youth group leaders, so they are having a farewell party. Husband (who leads the youth group team), asked me in casual conversation during the week if I could make a cake for this occasion. Of course I said yes!

Being married for so long, he knew that he needed to add that he specifically wants a simple cake, and the only requirement was that it was chocolate with chocolate chips.

I was fine with the request for chocolate with chocolate chips, but, of course, once he said "simple", my mind headed straight to all the various complicated designs I had been storing up on my mental list, that were waiting for the opportunity to be made.

... And basically, I just couldn't help myself.

It took me three days to finalise on a design, which ended up being the simplified version of this complicated design I first had in mind:

An ombre style cake (dark icing on the bottom, to light icing at the top), with ombre stars twirling around the cake, with their colours going in the opposite direction (dark stars on top, to light stars at the bottom).

Somehow, I was determined to have stars on it! And somehow, it turned out to be everything Husband asked it not to be.

... Except for the chocolate part.

Thinking about how to make it an actual "farewell" cake (and not just a starry cake) I was reminded of my experience from making the Rabbitoh's cake, and wondered if I made a fondant hand that wobbled, it could be 'waving'! And basically, when I get stuck on my perception of a fantastic idea... It's really hard to find something else to make instead.

So, in the end (yes, finally I will show you what I actually made), I had just one colour of stars (made from dark chocolate), and three colours/shades of icing on the cake. The exact three colours that were on the cupcakes.

... Because I also like it when things match!

On the cupcakes, I had piped a circle of each different shade of icing, and placed one of the smallest of the dark chocolate stars that I had cut out:


And with all three sizes of stars, I arranged them on top of the cake:


Lastly, I stuck the "wobbly" hand into the cake!


I didn't take a video of it waving, so you're just going to have to imagine it. In the ideal world, the hand wobbles from left to right to symbolise a wave; but, if it were to wobble forward and backwards, it would symbolise a hi-five! A win-win situation, really.


Thank you for all of your time, hard work, and effort
you've put into leading the youth group, Aimee!

Good luck with your next adventure :)

"Farewell!"

Tuesday 17 June 2014

Finger-painting Fun!


When Ben and Tamara were little (like, baby little), I did a lot of painting with them... Well, okay, I did a lot of painting on them. See, I was determined that I was going to collect years worth of home-made hand and footprints of each child, to keep, frame, or even scrapbook, to show/give to them when they're older so we can all say "Aww, look how little your feet were!" and then have a cry because they were all grown up now...

It lasted about a year. After that, they were too old to be completely co-operative (when they wanted to do the painting instead of me), and too heavy to hold like a football or like a straight jacket while I painted their feet (individually, in 6 different colours*), and so I just gave up. It was fun while it lasted**, but became too complicated to manage regularly, and time kept slipping away until it wasn't even a thought in my mind.

* Thinking about it now, I was definitely crazy.

** Not that I can remember.

I don't remember the last time I let my children be within reaching distance of paint at home, and to be completely honest, it's one of the reasons I loved them going to preschool. All those fine motor, messy learning experiences that I much prefer don't happen inside my home.

Well, after seeing various images and links to "mess-free painting" pop up through my Facebook news feed recently; today, I trialled it for the activity at my local play group.

There's many websites and blogs I've found with posts about it (so yes, I am now officially yet another one), which means I'm not sure where the original idea came from; but, it's GENIUS!

Basically, I put/placed/poured/squirted/blobbed a large dollop of paint into snap lock bags (of all the colours I had), gently squeezed the air out, and sealed them...


Taped the bag onto white paper (for a better background contrast)...


Blu-tac'd them to the table, and the kids started "painting"!


Of course, it works best if the bags aren't opened for paint to come out (some boys really love being messy!), and, if they're secured properly on the table (or ground, or window, or wall). I found that paper was just a bit too thin and kept bunching up when kids 'painted' firmly. Cardboard would have worked much better I think! Or a bigger bit of blu-tac...

What I plan to do with Jonathan (you know, eventually... maybe) is set him up with this, and get him to draw letters into the paint, prompting him with giant letter flash cards I had bought him recently. I think we've looked at them once. Oops.

It's comforting, though, knowing that even my 10 year old was pretty entertained by this craft! So I still have time with my forgotten-third-child.

And considering the school holidays are coming up in just a couple of weeks, here's some more great kids painting ideas that I've found from Livin' the Mom Life!

Mess-free painting FTW!

Tuesday 10 June 2014

What's up, Doc?

I'm sure, hidden somewhere deep in your childhood memories you've filed away, you'd recall watching Saturday morning cartoons in your pyjamas, eating way too much cereal, just to get to the toy that was lurking somewhere in the packet! Of course for Husband, these are memories from last week.

As per usual, any morning in our house when the TV goes on is a great morning in the eyes of my kids (probably because it's so rare), but there's something special about weekend TV. Perhaps it's because I allow them to bring their quilts out of their rooms, and snuggle up on the couch. Occasionally Husband will conspire with them to sneak the dogs under the blankets in hopes I won't notice, or assume the cushions have mysteriously grown paws and move around by their own free will.

Recently on TV (not just on Saturday morning), there's been various Looney Tunes shows & movies airing, which have brought back those memories for me. My kids look at me with puzzled expressions when I say that when I was their age, I used to watch these shows, too! Especially Looney Tunes.


There's been a few cartoon rabbits during my lifetime that I remember. Bugs Bunny being an obvious one, then Roger Rabbit. In recent times, Boingo from Hoodwinked joined this list...


Over the weekend, I made a rabbit cake. When I was asked if I could make one, my mind immediately went into cartoon bunny mode. And, without thinking much about it, I automatically assumed a white bunny with pink on it's ears! This happened before finding a picture of Roger Rabbit, by the way!

The cake was to be for the same girl I had made the lady beetle cake for, and so somehow, I wanted to use the same shape. Little did I know, that this would soon become one of the most disproportionate rabbit cakes in the history of all rabbit cakes!

It was all going well, until I ran out of one of the most important ingredients needed when baking a cake: tin release. It is the most amazing thing on the planet when it comes to baking, and ensuring that cakes don't stick to their pans! Luckily, I had enough for the main part of the cake (made from a soccer ball tin), but I needed a new solution for how to make the head. I considered moulding marshmallows together, but ended up creating what I can only describe as a giant cake pop for the head.


Tiny head, massive body. This rabbit is either pregnant, or has eaten too much cake!


The scene and standard were set, so basically, I had to continue making things out of proportion, so that it all matched... Which is why the front paws are also very tiny!

Without a clue as to how I was going to manage the back legs, I decided that perhaps I could just paint them on?


Knowing that this was planned to look like a cartoon bunny, I wasn't sure how to make the eyes. Do I make them really big, to match the body?? Or should they be small, to match the rest of it?? I started by painting two circles, and adding the nose and mouth. I needed to wait until the morning (when the ears went in) to decide how big to make the eyes. But slowly, the cake was at least taking the appearance of a bunny, I thought!


Thankfully, it wasn't too late in the evening when I had the great thought of making one of the ears "floppy"! I'd already cut out two ears from a stencil (traced onto baking paper straight from the computer), so quickly cut out another and folded the top of the ear over slightly, bending it over some glad wrap to set in place overnight.


While giggling over the ridiculously disproportionate looking cake I had, I'd also made some flowers to set overnight in a cake-pop tray, to fill in the space around the bunny on the cake board.

Morning came, and it was time to get serious with the bunny details! First, I put the flowers around the bunny, to make sure they looked alright.


I added some whiskers...


But, it didn't really look "right" (well, as right as it could possibly look!) until the ears were added!


Once the ears were in, I didn't think I needed to make the eyes bigger after all, so basically the cake was now complete!

Here's what it looked like from other angles, and above:


Though I spent more time giggling over the cake than decorating it, I was fairly happy with it in the end. Part of me wonders if the disproportionate cake somehow relates to an imbalance I have in my own life... Or, perhaps I just also eat too much cake?

Because I'm definitely not pregnant!


Happy birthday Maya!!

Monday 9 June 2014

The art of science!

My eldest son has a '365 Science Experiments' type of book, and I think we've only completed one of them. Well, one that I can remember! It involved an egg sitting in a cup of vinegar, for about a week. The vinegar slowly eats away at the shell, and the egg turns quite rubbery. My kids loved it, and it's a pretty cool experiment (until the egg starts to smell, of course).

But "science" is such a broad topic!

I was asked this week to make science cupcakes, and I honestly didn't know where to begin in the process of what to make on them. Test tubes? DNA strands? Bunsen burners? Crazy scientist hair? Petri dishes? Rubbery eggs? A frog with a knife sticking out of it's belly?

Without wanting to agonise over moulding teeny-tiny individual pieces of science lab equipment, I went with a broader (well, easier) take on science.

The periodic table.

With enough research, I finally found a colour scheme of the table that I really liked. I went through and picked 25 of the most common, or 'easiest-to-write-with-a-tiny-paint-brush' elements!


I'd grouped them in their colour groups, so that I appeared to be super organised. But, by doing this, it did make it easier to just place on the cupcakes once they had been iced.


I didn't get a photo of all the cupcakes with just the coloured icing on them, but since I'd already grouped them prior to icing the cupcakes, the easiest part of the project was placing the fondant element labels onto the cupcakes! (that usually is the easiest part of making cupcakes, though). I was in my element! ;)


Without realising at the time, it had suddenly turned out to be a very colourful weekend, as I had made these cupcakes the very next day after I'd made the rainbow splatter cake!

I was later told that the birthday boy loves science, and his party involved many experiments in the backyard! I believe his parents have finally patched up the holes in the fence, and are beginning to re-turf the lawn than somehow caught on fire recently ;)


Happy birthday Jeremiah! :)

Wednesday 4 June 2014

Somewhere over the rainbow!

Red and yellow and pink and green.
Purple and orange and blue.
I can sing a rainbow, sing a rainbow!
Sing a rainbow, too.

Rainbows are the beautiful sight of a multi-coloured arc shaped reflection of light in the sky. In the form of cake, rainbows are also very delicious!

Last weekend, I made a rainbow "splatter" cake. I hadn't heard of this kind of cake before, and seeing the photo, I was looking forward to making it! It was to be rainbow on the inside, and rainbow on the outside. And I will admit that it was incredibly fun to decorate!

On the day I set aside to bake the various cake layers, my children were lucky enough to have some cake off-cuts for afternoon tea (which brought back fond memories of the times I actually gave them afternoon tea):


Basically, once I'd layered the cake (with buttercream between each layer), and the cake was covered in black fondant, the idea was to "splat" runny royal icing all over it.

I really liked the effect.

I had covered the cake board in glad wrap (knowing it would be a messy project), and then colour by colour, I "splattered" them all over the cake!


Soon enough, the cake was looking more like this:


When I felt there was enough colour splattered all over it, I removed the glad wrap and tidied up the kitchen bench (and cupboards, and floor, and changed my clothes, too). I then took some of the royal icing, added some more icing sugar to each of the colours to make them thicker, and wrote birthday wishes around the cake board:


The final touch was rainbow fondant hearts and stars, which I poked into the top of the cake - some on straight wire, some on curly wire (that I curled around a permanent marker just prior to attaching).


I added ribbon around the base of each tier (the colours chosen by the birthday girl), and then, the cake was done!


It felt like the longest day waiting until the birthday party started (a whole 4 hours wait!) to see what the cake looked like on the inside! But it was worth waiting! The colours were vibrant, and worked really well with the design the birthday girl had chosen :)


Of course, I take mental notes every time I make a cake. So here's the things I've learnt from making this kind of cake (i.e. the things I would do differently if I was to do it again):

1. Wait for the royal icing to dry/set (at least a little bit!) with each colour, otherwise they start blending as it all runs down the sides of the cake.

2. I'm pretty sure the way to avoid the pooling of the royal icing in between the two tiers would have been to make two separate cakes. I didn't do this so that each slice of cake could have all 6 colours without black in the middle, but it may have been easier to both cover, and decorate two separate cakes, and then stack them.

3. HAVE FUN! With this style of cake, there's no right or wrong way it should 'look' at the end. I certainly enjoyed creating this cake!

Happy birthday Myah!! :)